When fall comes to an end, RV owners are left with the unenviable task of deciding what they want to do during winter.
If you decide to pack it up and put your RV away during the colder months rather than escaping somewhere warmer, you’ll need to learn about winterization, otherwise, there’ll be serious consequences awaiting you and your portable home.
How do you winterize an RV, though?
To winterize an RV means to prepare it for winter where cold temperatures can do serious damage.
Some of the steps involved in winterization include draining and protecting the plumbing systems, making sure any vents and holes are covered, and having an adequate storage facility that will keep it safe.
As one of your biggest investments, you want to do everything you can to protect your RV from the potential damage that winter brings, especially if you live in a particularly cold climate.
We’ll walk you through the steps needed to winterize an RV and why it’s so important to take this precaution.
Contents
What is RV Winterization?
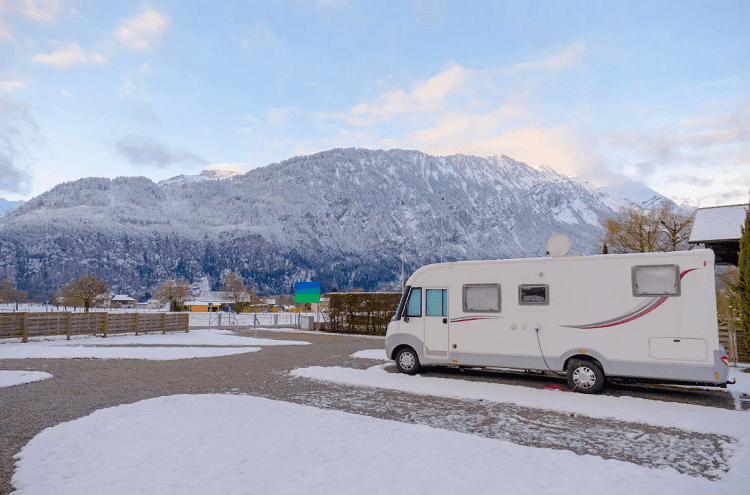
One thing that RV owners know is that wintertime is a different time for these traveling homes. Many of the popular RV parks close down for the season and you’ll see a lot fewer people on the road when temperatures start to drop.
What is to be done with these RVs that are no longer on the road, then?
RV winterization is the answer and it refers to the process of preparing your vehicle for the upcoming weather conditions and lower temperatures, with the main focus on water and moisture.
Without winterization, you’ll be leaving your RV exposed to the elements and will likely find a lot of damage done when you finally pull it back out again to use.
RV winterization is usually done by owners themselves but you can hire a professional to do the job for you if you prefer.
As long as you tick off the most important steps, you’ll be able to rest easy knowing your RV is stored away for the winter safely and comfortably, and that it’ll be in the best condition possible when you bring it back out in spring.
The Importance of Winterizing Your RV
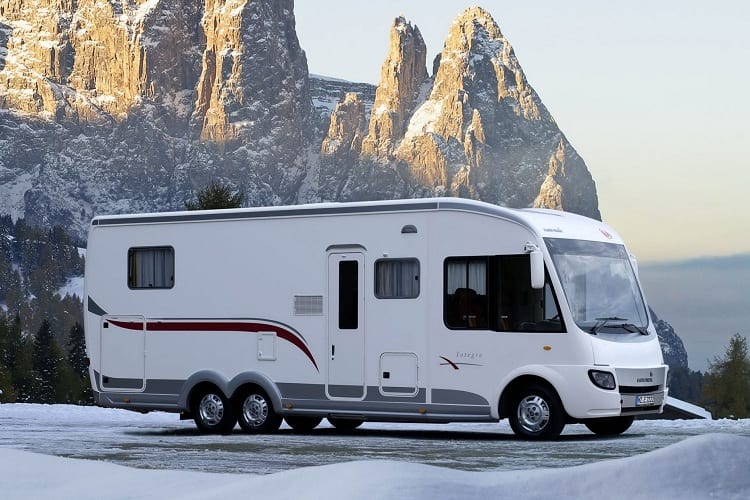
When winter rolls around, temperatures can get pretty low, and if you own an RV and haven’t prepared it for this change, you could be in trouble.
Winterizing an RV is all about preparation and without it, you could do serious damage to the pipes, fittings, and tanks inside of the vehicle.
During winter, the cold weather causes water to freeze which makes it expand. There is no shortage of water inside of an RV including stored in the tanks and left in the pipes, so even if you can’t see it there, it doesn’t mean there’s none.
All of this water has the potential to harden and break the fittings and pipes of your RV, leaving you with a lot of damage.
Another reason to winterize your RV is to protect the rest of it from the harsh weather conditions.
If you don’t insulate and cover the camper, you’ll likely find things like snow, moisture, and even critters have found their way into your pride and joy and cause some harm to it, so you’ll want to make sure every nook and cranny is taken care of.
If you plan on traveling through winter, there’s no need to winterize it, but you should be cautious of where you travel.
Stick to warmer climates that barely experience the cold as the risk of pipes freezing and other issues arising is a real one, and the reason why many RV owners prefer to keep theirs stored away for the winter.
When Should I Winterize My RV?
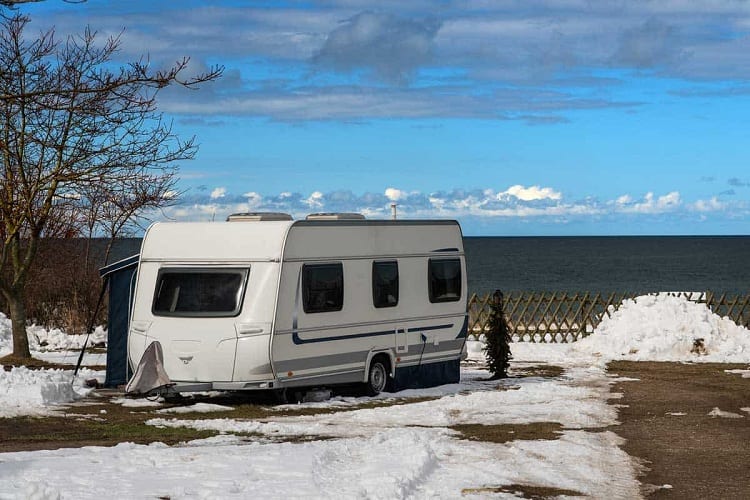
While it’s true that winterization is an important process for vehicles in colder climates, it’s not always necessary.
The guide for whether or not you should winterize your RV is 32 degrees Fahrenheit, so if you think the weather is going to drop to this point or below, you’ll want to get to work.
There is some debate over whether the temperature needs to stay below 32 degrees or not, with some arguing that unless it’s going to stay this way for 24 hours or more, you don’t need to worry.
In our opinion though, just a few hours of temperatures at this level can do damage to your RV fittings and pipes, so it’s not worth running the risk.
To ensure you have enough time to get the job done, you should make plans to return to a home base before the end of the fall.
You’ll have a few days to winterize and store your RV for the colder months and won’t be rushed, should anything unexpected pop up while you’re getting it prepared.
How to Winterize an RV
The presence of water and moisture is the biggest killer for an RV during winter and this will take up the bulk of the job.
These are some of the steps you’ll need to take to winterize your RV so that frozen water doesn’t do any damage while it’s stored away:
Step 1: Drain the tanks
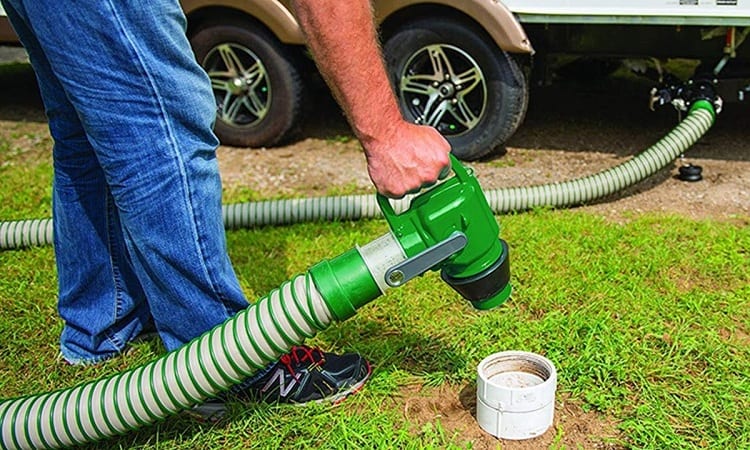
All of the tanks in your RV will need to be drained and dried before you store them away for winter as even the slightest bit of moisture can lead them to crack and break.
The most important one is the grey or black water tank as any slight reside of bacteria can lead to serious issues, so they should be cleaned thoroughly after being emptied.
Allow them to dry for a few hours before putting them back in place to make sure there’s no moisture left behind.
Step 2: Remove inline water filters
Most RVs have at least one water filter in place to make the water being used cleaner and free from nasty stuff. If yours has even one, you’ll want to remove them completely or at least bypass them from the main unit.
This job is crucial to perform now because when you’re adding chemicals like anti-freeze later on, you don’t want it to damage the filters.
You may want to replace the filters altogether when it’s time to get your RV back on the road, depending on their state.
Step 3: Drain water lines and water heater
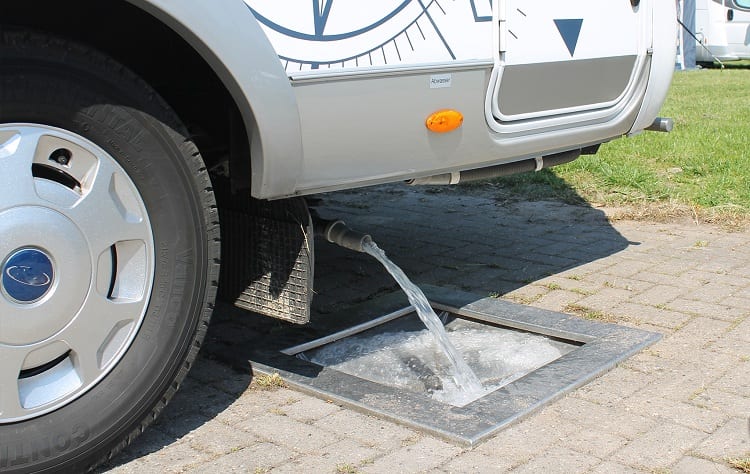
The water heater stores water in it so it’s ready for use, and you’ll have to drain this out as well. First, turn off the heater and give the water inside the chance to cool down and become unpressurized.
Then, take out the drain plug and open the pressure relief valve of the heater to let the water out.
Once it’s emptied, open all of the hot and cold faucets in the RV. Wait until no more water runs from either of them and this will empty the water lines.
Step 4: Adding antifreeze
Before you add the antifreeze, it’s essential to bypass the water heater so any product you put in doesn’t make its way there. If your RV doesn’t already have this feature, you can install a bypass yourself.
Then, you’ll install a water pump converter and connect it to the antifreeze product, then close all of the drain lines and faucets within the RV.
Turn on the water pump and allow the antifreeze to flow through.
Once it’s complete, turn on the cold and hot water faucets separately and wait for the antifreeze to flow through before turning off the water pump and opening the faucets again.
Pour some antifreeze down the drain of every sink and make sure it comes through the city water inlet as well
RV Storage During Winter
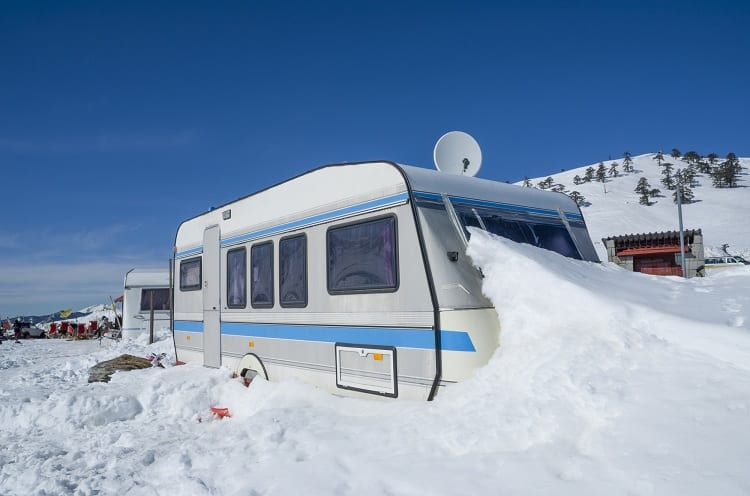
Once your RV has been prepared for winter, you’ll need to store it away somewhere safe and unexposed like an RV storage area or a closed garage at home.
A covered area with a flat surface, preferably concrete, is the best location as this will prevent any unnecessary damage or instability during extreme weather conditions.
Before storing it away, make sure you’ve done a final check for roof leaks and fixed them, changed the oil, removed any batteries from the RV, and plugged up the tailpipe so pests can’t get in.
Other parts like awnings will need to come off, and the gas tanks should all be shut as well.
Insulation is important for storage as well and there are options like foam insulation boards, solar blankets, and bubble insulation that can assist.
In extreme conditions, it can help to put a layer of RV sealant around the windows to prevent anything from getting in, which is easily removed when you take it back out again.
If you don’t want to store away your RV and plan on still using it, you’ll need to invest in a good heater to keep it warm when the temperature drops.
This is costly though and still doesn’t provide a guarantee that everything will be protected, so it’s better to head somewhere warmer where the threat of winter isn’t an issue.
Professional vs DIY Winterization

Many RV owners like to perform their maintenance themselves, and thankfully, winterization is an easy enough job to do for yourself.
You’ll need to arm yourself with a comprehensive checklist, the right tools, and a knowledge of what you’re doing before you begin, and give yourself a few days to get the job done.
For those who don’t feel confident preparing their RV themselves, you can pay for a professional service to complete the task.
They’ll cover all of the basic steps needed for RV winterization at a cost of between $150 to $200 usually, depending on the size and class of your motorhome.
A professional winterization service should cover everything from water drainage to batteries and generators, and it will need to be with them for a few days to complete the task.
It’s best to schedule in advance for the job and plan for a date a few months in the future as most technicians are fully booked in the lead up to winter with people hoping to get their RVs winterized as well.
Getting a Winter-Ready RV
When the seasons change and people put away their campers for winter, the job isn’t over yet.
To make sure your pride and joy is in top condition when the snow starts to disappear, you need to follow all of the steps to winterize your RV, so that it’ll be ready for action as soon as you are.
Related Questions
Winterizing your RV is a must-have if you live in a colder climate or plan on storing your RV away during the colder season.
If you own an RV and aren’t sure what route to take yet when the temperature starts to drop, read on to see some commonly asked questions on how to deal with these campers during winter.
How Do You Travel in an RV in the Winter?
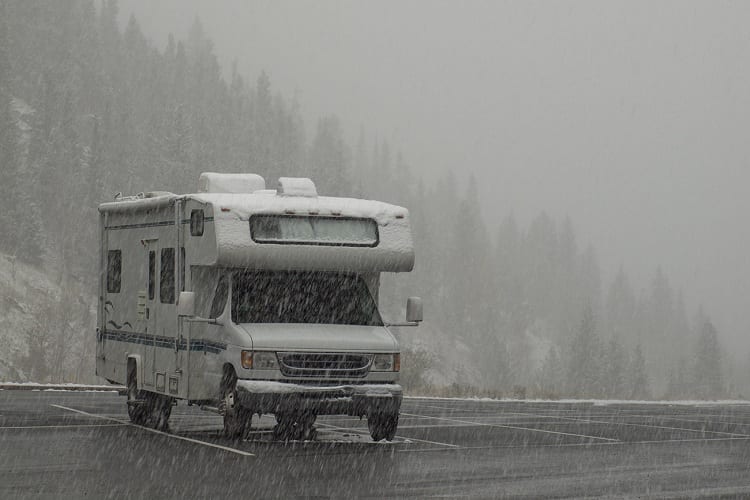
If you want to keep your RV on the road during winter, you can perform some preparation to help it handle the cold.
Adding extra insulation, protecting the plumbing with antifreeze, preparing and servicing the furnace, and making sure the engine is in good shape will all help your RV to make it through the winter unscathed.
Can You Pull a Camper in the Snow?
It’s best to avoid pulling a camper when it’s snowing as you can’t do so safely in these conditions.
In the presence of ice and snow, you should stay where you are when pulling a camper or any other type of trailer, and wait for the weather to calm down until it’s safe to travel again.
Resources:


