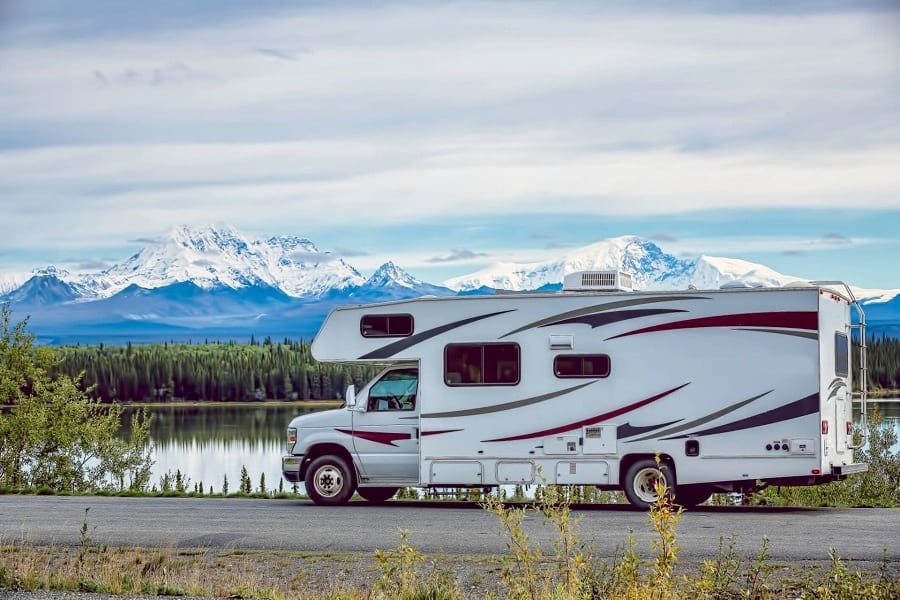
If the toilet is the last thing to tick off your RV checklist, there are plenty of benefits to using a composting style one.
Better still, if you can make a DIY composting toilet RV friendly, you’ll save a lot of money and hassle from buying one, but still get all of the benefits.
How do you make a DIY composting toilet for an RV?
The same basic principle still apples so you’ll need a toilet seat for comfort, a container to collect the waste, and some wood and tools to create the base for the seat.
Assembly depends on the space you have and what materials you’ve chosen but it’s relatively easy to put it all together.
Composting toilets are becoming a hit with RV owners as they allow portable and practical bathroom amenities without the high cost or fuss.
When you’re ready to get started making your own composting toilet for your next RV adventure, this guide can help you do it the right way.
Contents
Can You Use a DIY Composting Toilet in an RV?
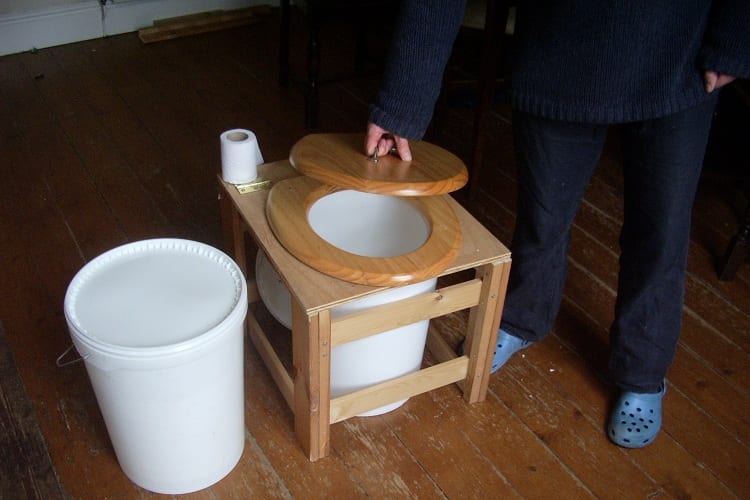
A composting toilet is a great way to have plumbing-free access to a bathroom, and its unique design is perfectly suited to the RV lifestyle.
Making your own composting toilet is easy to do and will fit well in your camper, or set up somewhere outside in privacy whenever you pull up at your next location.
When done correctly, a composting toilet will be able to safely and securely house any waste that has been deposited into it, so there’s no chance of leaking.
You should always aim to empty it once a day, or more as needed, but this could mean simply pouring out the liquid waste and leaving the solid waste compartment until it’s time, if you have this type of toilet.
Using a DIY composting toilet in an RV also means you’ll save on water which can be a huge benefit when you’re trying to ration it.
If you’re into boondocking or dry camping and want to rely as little as possible on external resources, having a composting toilet that gets the job done without taking anything from your backup tanks can be a gamechanger.
The Costs and Tools Required
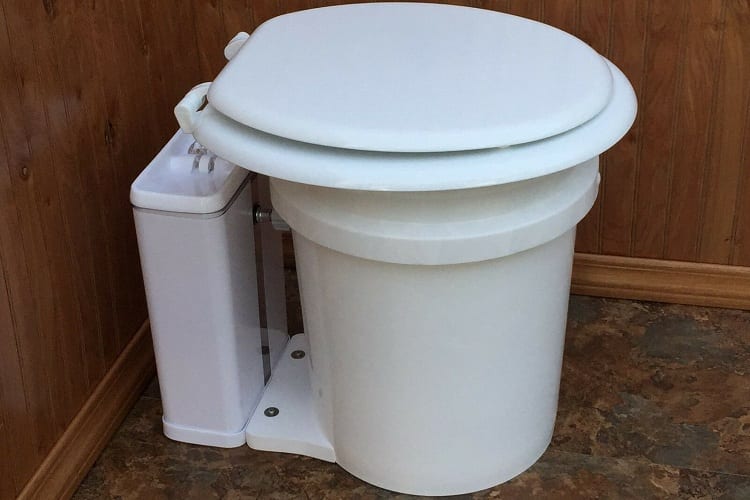
Before you can dive into making a DIY composting toilet for your RV, it’s a smart idea to look at the costs.
We’ll break down each of the parts required for this setup and what you can expect to spend, so you’ll see if it’s a cost-efficient option or not.
Sometimes, buying a ready-made composting toilet may be cheaper but it depends on what you can source and how much you can get it for.
- Toilet seat: This is the most expensive part and worth choosing a comfortable one, so expect to spend between $20 and $30.
- Wood boards: For all of the wooden boards needed to make the box that the toilet will be housed in as well as its legs, you can expect to pay around $10.
- Large bucket: A 5-gallon bucket will only cost a few dollars.
- Hinges: Two hinges to allow the top of the box to be opened and the bucket removed, costing just a few dollars.
- Tools: Various tools you might already have access to like a jigsaw, circular saw, and hot glue. This is where the cost comes in, so if you don’t have them, it may be cheaper to purchase the toilet ready-made.
Steps to Make a DIY Composting Toilet RV Friendly

The exact composting toilet you create might have to meet certain specifications in size and materials, but for a good idea of how easy it’s done, check out this step-by-step guide we’ve created.
- Cut down the pieces of wood needed to create a box for the bucket to sit in. The wood should be fairly thick, with a ¾” x 10” x 18” piece recommended.
- Screw the sides of the box together and use a wood suitable glue for added strength.
- Attach the hinges to the top to attach another piece of thinner wood like plywood, creating the opening lid for the toilet.
- Create the base of the toilet seat by drawing a circle around the opening of the bucket and measuring at least 1.5 inches away from this border before cutting.
- Attach the legs inside of the box and measure so the top edge of the box is at least ½ inch below the top of the bucket so that it protrudes at least ½ inch as well. Keep the bucket inside of the box in the correct position.
- Attach the toilet seat to the top of the box on the hinges, open it to test the alignment of the bucket. If it all lines up, the box is complete.
Emptying and Cleaning the Toilet
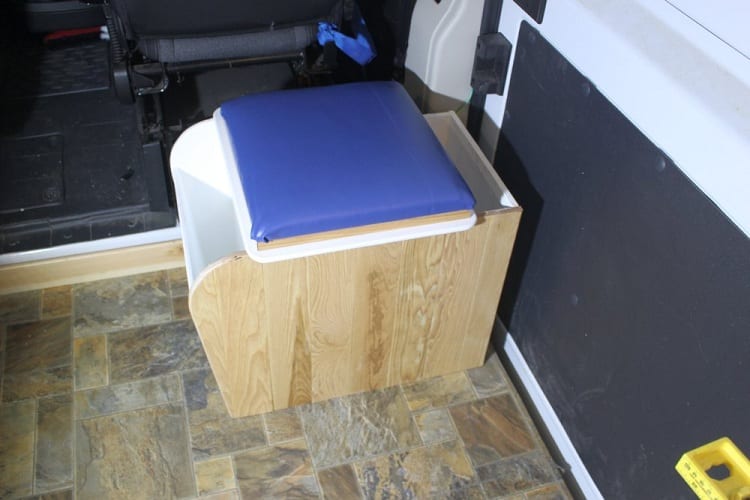
With this type of composting toilet, there’s no separate compartment for solid and liquid waste so it will require a slight variation in how it’s emptied and used.
You’ll need to keep a bucket of sawdust with a scoop next to the toilet, and each time it’s used, put a layer of sawdust over it.
When it’s time to empty it, you simply remove the bucket and put the contents into a designated composting heap, or dispose of it at a waste station.
If you do decide to use the compost, this should never be applied to any plants that you intend on eating, so you need to be careful how you use it.
To clean the toilet, it’s as simple as removing the bucket, emptying its contents as recommended, and then cleaning it out.
The bucket needs to be scrubbed thoroughly, rinsed, and then treated with disinfectant on the inside and outside. All other parts of the toilet should be wiped down with a disinfectant as well.
Common Mistakes of Composting Toilets
If you’ve never used a composting toilet before, there could be some trial and erroruntil you get it right.
These are some common mistakes that campers experience that can be easily rectified before you begin, so take heed:
- Plan for the right size of bucket and build your toilet around that. If you have more people using it, you’ll want to upsize so there’s enough capacity to store the contents of the day, but if it’s just you, there’s no need to go so large.
- Always cover the waste with an odor-neutralizing material like sawdust, peat, or a special combination. Add a layer at the bottom before you begin so nothing stains the bucket and it’s easier to clean.
- If you decide to make a separate compartment for liquid and solid waste, make sure they’re constructed with thick and durable materials. The urine waste alone can become quite strong and should be stored accordingly.
- Make it a goal to empty your composting toilet each day and rinse it out with water, at the very least. Even if it’s just had liquid waste in it, the smell will become quite strong overnight, so it should become part of your nightly routine.
Composting and Clean In Your RV
Composting toilets have a lot of misconceptions about them, but if you spend some time doing them right, they can be the perfect addition to an RV.
With our step-by-step guide and the common mistakes you can avoid from the jump, your RV will have its own portable and practical toilet without any of the usual fuss.
Related Questions
The toilet in your RV must be chosen carefully as one wrong move can lead to disaster for your trip.
If you’re still weighing up whether a composting toilet is the right way to go in your portable home, read on to see some common questions and their answers about this unique bathroom amenity.
Do Composting Toilets Smell?
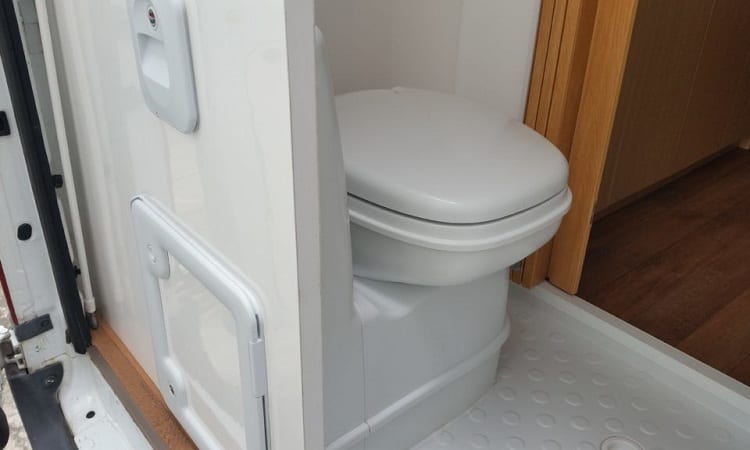
When done correctly, a composting toilet shouldn’t have an obvious smell, provided you’ve used the right materials and construction.
However, there may be a slight odor similar to manure as the waste breaks down, but it shouldn’t be very noticeable and won’t be unbearable. If it is, there’s an issue with the toilet that needs to be rectified.
How Do You Clean a Composting Toilet?
After dumping the solids at a designated waste station, you can take apart the composting toilet and clean each of its parts individually if you want to give it a deep clean.
These should all be sanitized with a disinfectant as you would an RV toilet, tanks, and sewer hose, before putting everything back together and adding a treatment to the waste tank.
Resources:

