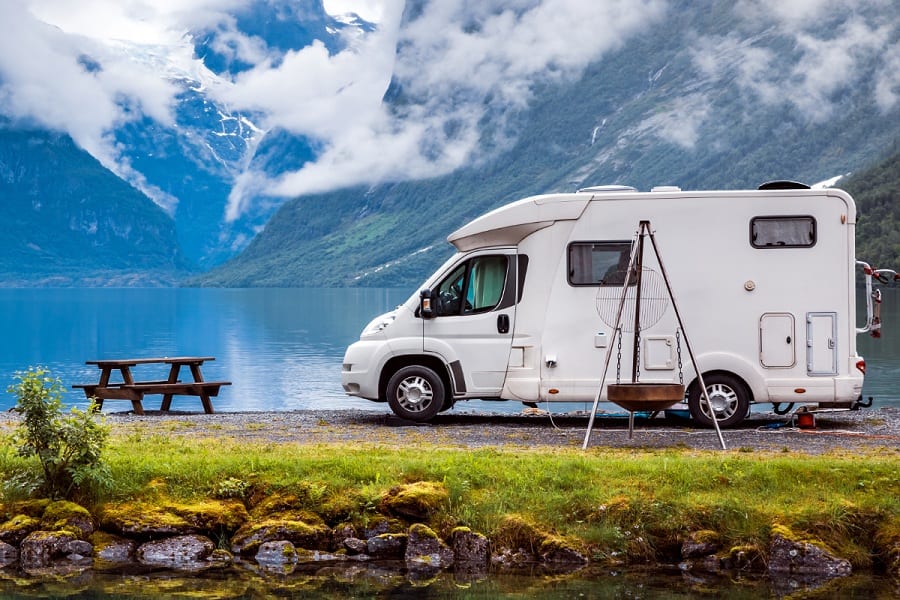
Water is an essential part of life, but when you’re living on the road and away from the basic amenities we take for granted, it’s even more important to have a clean and reliable supply on hand.
An RV’s water tank is an integral part of its setup and one of the basics of RV ownership is knowing how to keep it clean and in working order.
How do you clean an RV water tank?
To clean an RV tank and sanitize the water system, you first need to fill it with a cleaning solution of your choice then turn all of the taps of the RV on so it can run through and clean all of the parts.
The tanks should then be emptied, filled up again, and drained once more, ensuring a thorough cleaning has taken place.
You’ll need a few things on your cleaning RV water tank checklist and a basic understanding of how all of the parts work, and why it’s important to get it right.
This guide will walk you through everything you need to know, and then some, so your important lifeline never fails you when you’re without a water supply in your RV.
Contents
Why Should You Clean an RV Water Tank?
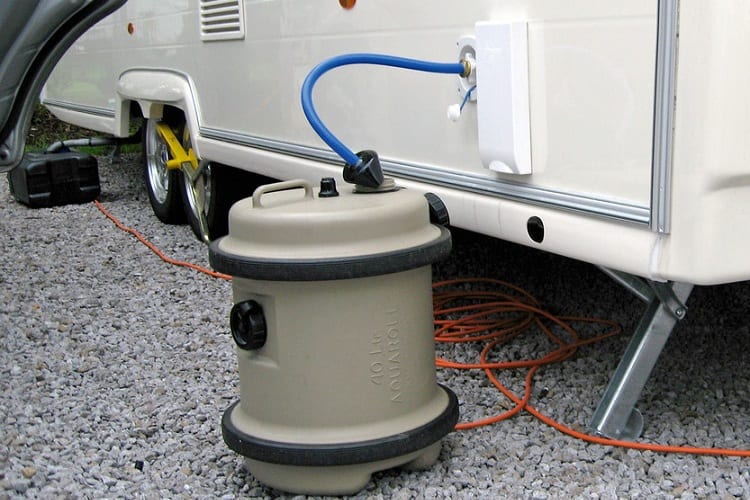
An RV’s freshwater tank is your lifeline to hydration but it can also be a breeding ground for other harmful things.
These tanks are prone to a build-up of bacteria that grow in these ideal conditions, and can even be at risk for developing algae growth inside of them as well.
When we drink from a dirty tank like this, we risk a whole range of health issues, and as it’s our only source of water when we’re living in our RVs, we need to keep it clean.
You wouldn’t want to drink from an unclean water supply at home or use dishes that had been sitting out for days accumulating bacteria and other nasties, so the same goes for living in your RV.
It’s not only our health that we should be concerned about though, as unclean water and dirty tanks can impact the condition of the tank itself.
Dirty water and water with high mineral content due to an unclean tank can damage the water sensors, cause a buildup of sediment, and make its way through to the taps and rest of the water system, so this job is important for your RV as well.
How Often Does It Need to Be Cleaned?
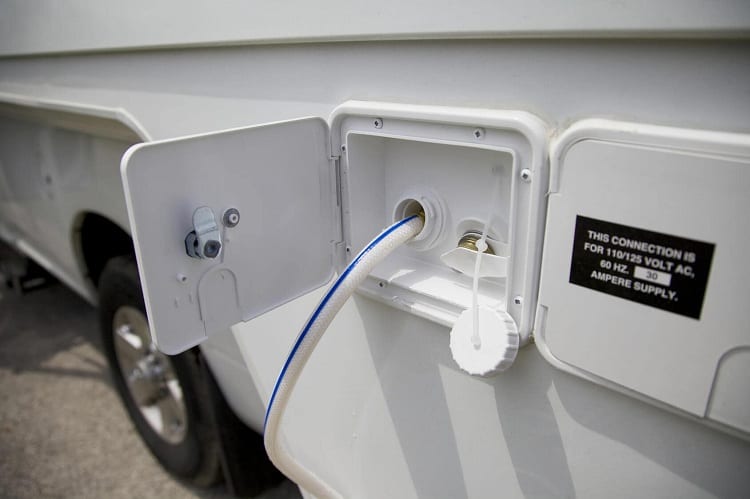
An RV’s water tank is your lifeline to drinking water and staying hydrated, so you always want its contents to be clean.
The frequency of how often it should be cleaned depends on its use and the frequency you take your RV out on the road.
Those who use their RV full time will have to sanitize and clean the tank less frequently because the fresh water is moving through it and it isn’t sitting stagnant.
Full-time RVers should aim for a full cleaning every six months, unless they notice strange odors and tastes from the water, or just feel like giving in a clean.
For part-time RV users, you should clean the tank more frequently, usually following a once every three-monthly schedule.
This is because the water in the tank is at a lower level and not filled up as frequently, making it the perfect breeding ground for bacteria, mold, mildew, and sometimes algae.
Emptying the Water Tank
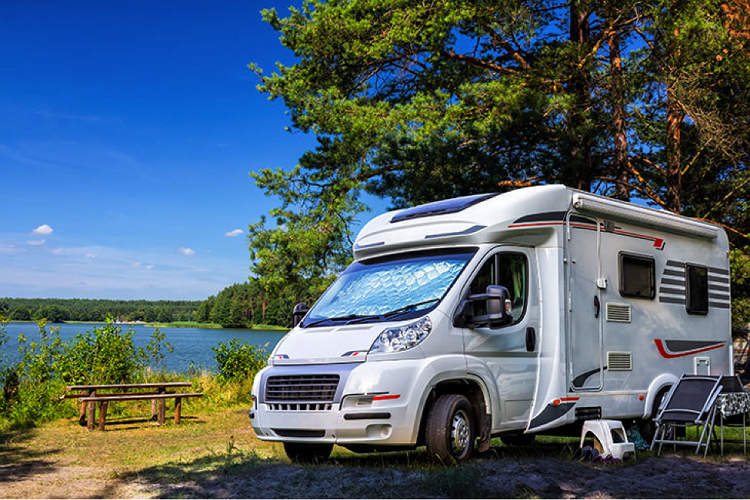
Before you can start the big clean, you’ll need to empty the water tank and drain the entire water system.
Without any other water in it, this will ensure that your cleaning solution works better and reaches everywhere it needs to, so it’s an important step.
To drain the water system, open all of the water valves on the tank as well as the water lines.
Look around the RV and find water lines so you can release all of the water, and make sure you target areas like the water heater tank, all of the taps, and anywhere you access water in your camper.
If this is your first time, it’s wise to look at the owner’s manual that came with your RV.
This will pinpoint the exact locations where you should drain the water lines, and eventually, you’ll learn these without needing to refer to a manual.
Sanitizing The Tank
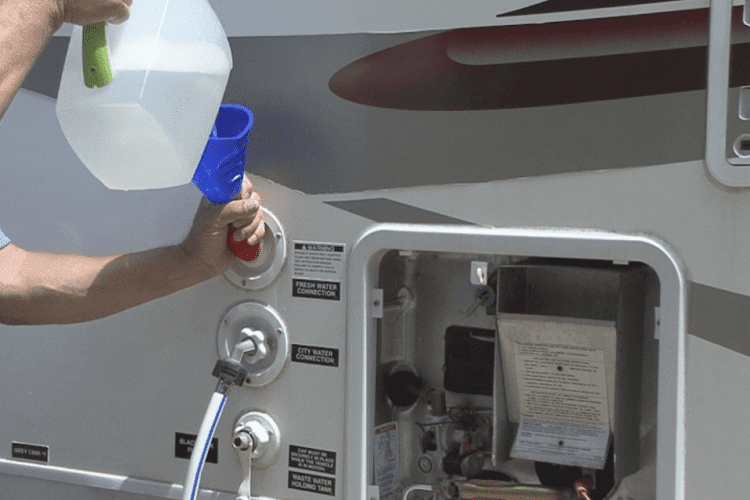
While the water drains from the system, you’ll want to start making up a sanitizer.
This will be poured into the water tank and work its way through the rest of the water lines, and it’s the step that will have the most impact on the purity and cleanliness of your drinking water.
The easiest approach is to use a dedicated RV fresh water tank cleaning product, but if you prefer the homemade route that’s okay as long as you find one that’s safe for use in an RV water tank.
These are some of the most common options for sanitizing the tank and how to calculate what’s needed for its size:
- ¼ cup of bleach per 16 gallons of water
- ¼ cup of vinegar per 16 gallons of water
- Tablespoon of baking soda and ¼ cup vinegar per 16 gallons of water
- Baby bottle sterilizer product
- RV water tank cleaning product
How to Clean the RV Water Tank
With your chosen sanitizer solution in hand, you’ll then want to pour it into the emptied water tank using a drill pump or hose, connect the water heater tank, and close the valves of the fresh water tank.
Then, pour clean water in so that the tank fills up to the top, giving you a good mixture of the sanitizing solution and fresh water.
Go around the RV and turn all of the taps back on, waiting until you notice the smell of bleach or the cleaning solution coming through.
Make sure you’ve turned the hot and cold faucets on at each point so it makes its way through the whole water system.
After a minute or two, turn the taps off and then fill the tank back up with water, and more solution if needed. Leave this to sit in the water tank for at least 12 hours to disinfect and clean inside of the tank.
How to Refill the Tank
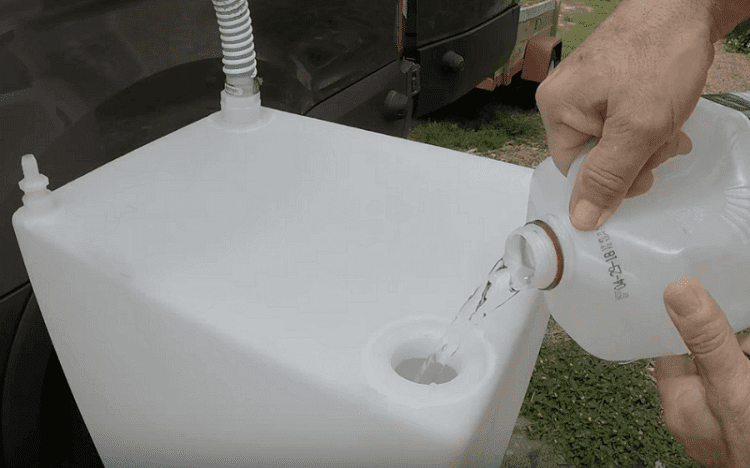
Once the 12 hours are up, you will now need to drain the tank completely, so start by opening the valves of the fresh water tank and unplugging the water heater tank.
Let the water drain out completely and then fill it up again with clean water to flush the system out.
Depending on the results, you might need to refill the tank a couple of times and drain it out again before it can start to run clean water.
You’ll be able to tell when the sanitizing solution is finally gone because the smell of bleach will disappear from the running water out of the faucets.
Once you’re satisfied it’s running clean, close up the valves again and pour fresh water into the tank, or allow the tank to dry before putting the RV away in storage.
The Key to Clean Water
The dangers of leaving dirty water to sit in your tank and accumulate more bacteria are too great to imagine, and when this is your only source of drinking water to rely on, it’s not a risk you want to take.
Thankfully, the task of cleaning an RV water tank is an easy one, and all you need is a little bit of know-how and some basic household products.
Related Questions
An RV water tank is your lifeline to clean drinking water, and without it, you won’t get very far.
Keeping it clean is important for your health and the health of the tank as well, so this is an essential skill to have.
If you’re wondering what else needs to be kept clean in your RV, read on to see some commonly asked questions that beginner campers also had.
Can I Put Bleach In My Gray Water Tank?
Although some people use a diluted solution of bleach in their grey water tanks, it’s better to stick to something gentler and designed for this purpose.
Bleach can potentially damage the seals and gaskets of the gray water tank and may also kill off good bacteria, so try to avoid it when possible.
How Do You Unclog an RV Toilet Holding Tank?
To unclog an RV toilet holding tank, the options are using a drain snake, pouring boiling water down the RV toilet and into the tank, or adding more chemicals to break down the waste.
To prevent clogs in the future, using a treatment in the tank before you start to use it will prevent this build-up of waste and toilet paper that causes them.
Resources:

