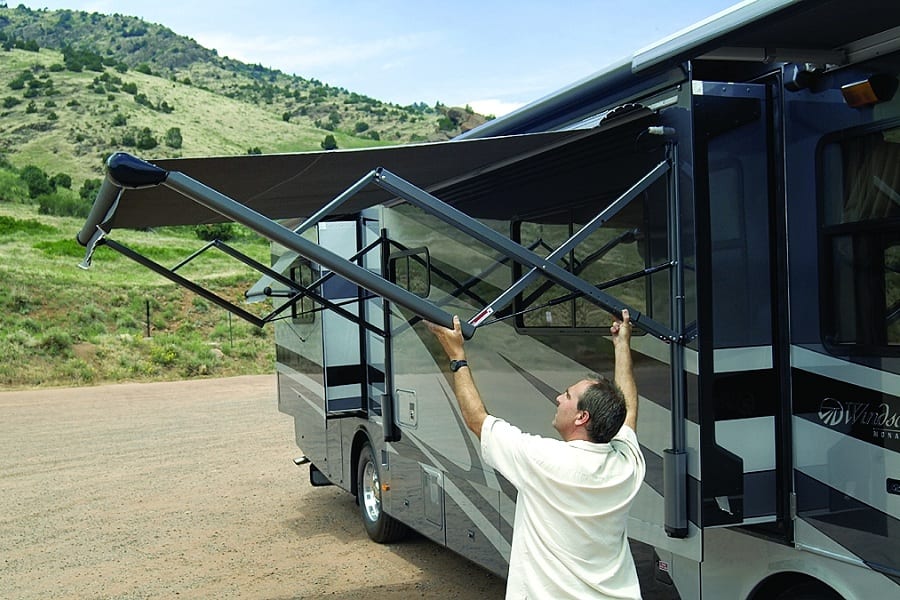
The trusty awning of your RV goes through a lot in its lifetime.
Whether it’s the harsh midday sun that it protects you from, the bucketloads of rain it stops from getting you wet, or the assortment of stains from things like animal droppings or berries, it’s no wonder it needs replacing once in a while.
How do you replace an RV awning yourself?
To replace an RV awning, you’ll need to first choose a material for the awning, remove the old one, and replace it with the new one by rolling it on in the right way.
This requires a few helpers and should be done with the awning removed completely so it’s easier to take off and roll the new fabric on.
A brand new awning can breathe some life into your RV and make relaxing outside enjoyable once again, and luckily, it’s a DIY job that you can do with minimal experience and a few helpers.
This guide will show you exactly how to replace your RV’s awning when to know it’s time, and the best materials to choose for this important accessory.
Contents
Signs You Need to Replace Your RV’s Awning
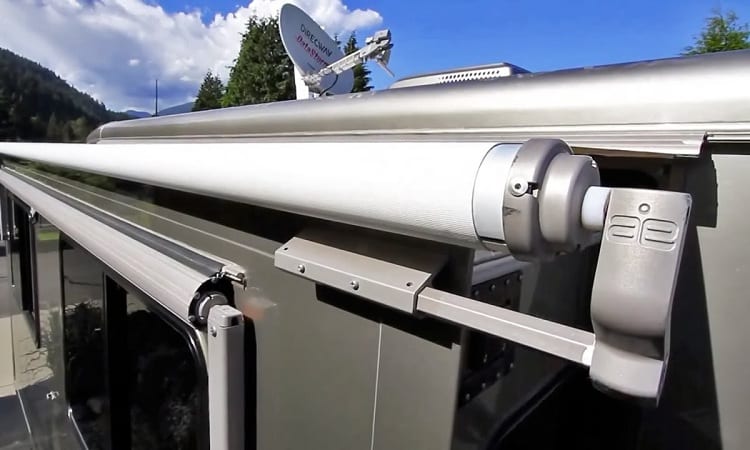
A standard RV awning can last up to 15 years, and sometimes longer, depending on how well it’s been cared for and the quality of its materials and construction.
If you’re wondering whether your RV awning’s time is up, there are some telltale signs you can look out for:
- The fabric has stretched out and doesn’t have the tension it used to. The awning might be drooping or stagging in certain places and not able to roll up without some effort.
- The overall look of the awning is dated, whether this is the design or fabric, and you want something more modern.
- There is noticeable damage that can’t be repaired and many holes and marks that prevent it from keeping you protected.
- Sun damage has faded the colors of the awning and reduced its ability to provide UV protection in the future.
- Mold and mild has overrun the awning and even with cleaning efforts, you’re unable to get rid of it.
The Different Awning Materials To Choose
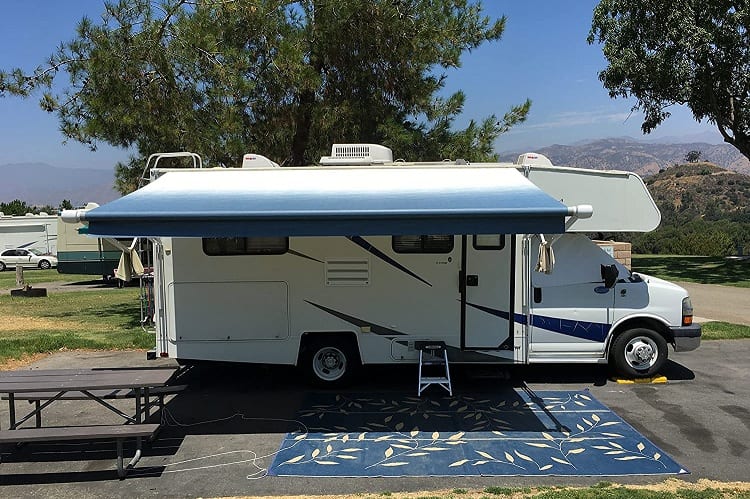
Before you can jump in and start tearing down your old awning, you’ll need to decide what the replacement awning is going to be
The biggest decision to make here is what fabric to go with, and the two most common choices need to be considered:
Acrylic
An acrylic awning is a breathable option that’s great for warmer climates and it stays in good condition and with vibrant colors for longer, with the right care.
However, these awnings are more expensive and aren’t waterproof, so you’ll have to make sure it’s treated with a waterproof coating.
Tree sap and similar stains can be harder to remove from these types of awnings so you have to be careful where you park.
Vinyl
An awning made of vinyl is a good, budget-friendly option for your RV.
The vinyl itself is waterproof so it provides adequate coverage against rain, they’re easy to keep clean, and don’t take much to repair if anything goes wrong.
However, they won’t last as long, can show signs of sun damage sooner, and aren’t breathable which means in hotter climates, you’ll have less fresh air blowing through.
Once you’ve decided on the fabric, you then need to measure up your awning so you can order the right size.
Note the measurements from the center of one arm to the center of the other, and not the fabric of the awning. Find a replacement awning that fits this size and when it arrives, you can get started on the job.
Step by Step Guide to Replacing an RV Awning
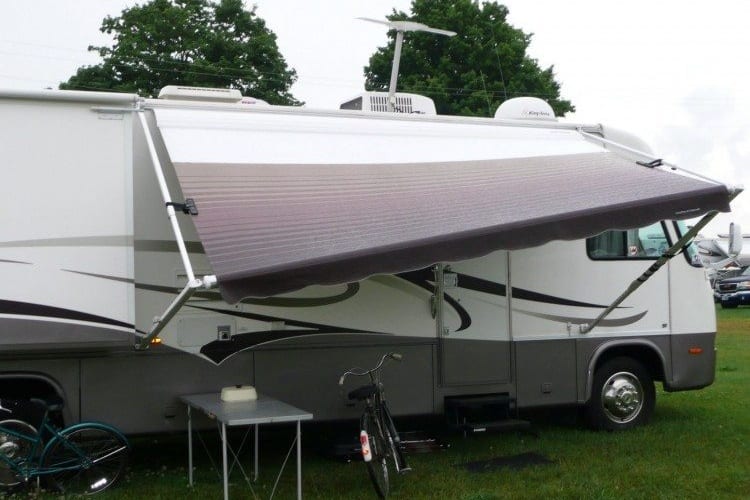
With your replacement awning in hand, you’re ready to get to work. Follow these simple steps to replace your RV’s awning, and make sure you have some capable helpers on hand for the tricker parts.
- Roll out some of the awning from the RV and find the bolts that attach the arms to the vehicle. There are two parts: the fabric channel and the bottom of the arms and start with the fabric channel where the fabric goes into and remove the screws from this. At the bottom of the RV arms, remove these screws and then loosen the arms so they detach from the RV.
- Pick up the awning and lift it while you slowly walk it down and out of the fabric channel. If there’s any old sealant left behind that used to keep the fabric in place, remove it. Lay the old awning down on the ground once removed.
- Find the small hole on the end cap of the awning and use a tool to push in the spring tension here. Once it’s locked in, move to the other side of the awning and remove the bolt that attaches the bracket and arm together. Take the arm away from the roller now it’s been unscrewed and make sure to continue holding tightly to the bracket while you do so.
- Keep the bracket on the roller and release the tension. Rotate it forward and select the retract position, then unroll the spring the whole way.
- Take all of the bolts and screws out of the end cap of the awning so that it can be removed but don’t throw them out. Take the cap and the spring off and set them aside.
- Slowly unroll the fabric from the roller with help from a friend. Keep the spring mechanism in during this process. Make a note with a marker of the two different sections of the awning roller so you know which is the main section and which is the decorative valance, as each goes into a different spot.
- Remove the two sections of fabric from the roller and keep them separate. Lay out the new awning fabric and line up the pattern and make a note of which parts connect where.
- Slide the cord of the valance into the previously allocated slot and then the main fabric’s cord into the channel you marked ‘main section’. Gently work the fabric through into these sections and keep it centered and aligned by making adjustments as you go.
- Use a tape measure to mark the position where the fabric needs to go. This should be in the middle with enough space on either side for the caps and it has to be equal on either side.
- Roll up the fabric so it goes back into the awning roller. Put the spring assembly back in and replace the bolts and rivets that you took out earlier. Rotate the bracket so that the tension of the new fabric is sufficient and there’s enough give to it to retract as it used to.
- Pick the awning back up and line up the arms so they can be screwed back on again. You’ll need at least two people to hold it up while you do this so it stays aligned.
- Roll out the awning as you normally would and check that everything is lined up and that it retracts and rolls away easily. Make any adjustments if necessary, and then enjoy.
A New Awning for a New Perspective
Nothing brings down the beautiful view of the great outdoors than an old, disheveled awning, and if yours is looking worse for wear, it’s a job that can make a whole lot of difference.
With our step-by-step guide and some pointers about getting it done right, you’ll benefit from a brand new awning on your RV, and all with minimal effort.
Related Questions
An RV’s awning is one of its most prized accessories as it lets you enjoy your natural surroundings while staying covered and protected.
If you’ve been considering giving it an upgrade and finally replacing the fabric, you’ll need to know everything you can, so read on to see the answers to some FAQs that others have had about RV awnings.
How Much Does It Cost to Replace an RV Awning?
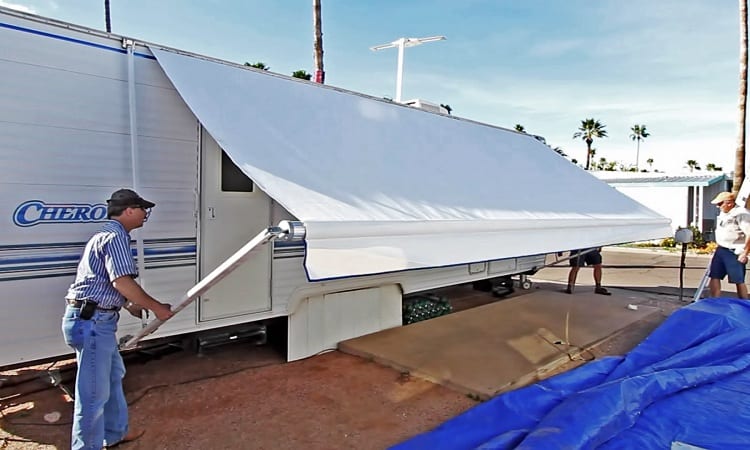
The cost of a new awning varies dramatically depending on its quality, the materials used to construct it, and the size.
You can expect to pay between $250 for an entry-level awning or up to $2,000 and beyond for a premium model made of durable fabrics and with lots of features.
How Do You Clean a Moldy Awning?
There are dedicated products for cleaning RV awnings and you must pick the one that suits the material your awning is made from.
These cleaning products are applied liberally to the awning, rolled up and left to sit, and then brushed and hosed off to remove marks like mold, dirt, and other debris.
Resources:

